Splatoon Raiders Gadgets Guide
Every tank-locked gadget role, unlock path, and pairing rule that shapes a build.
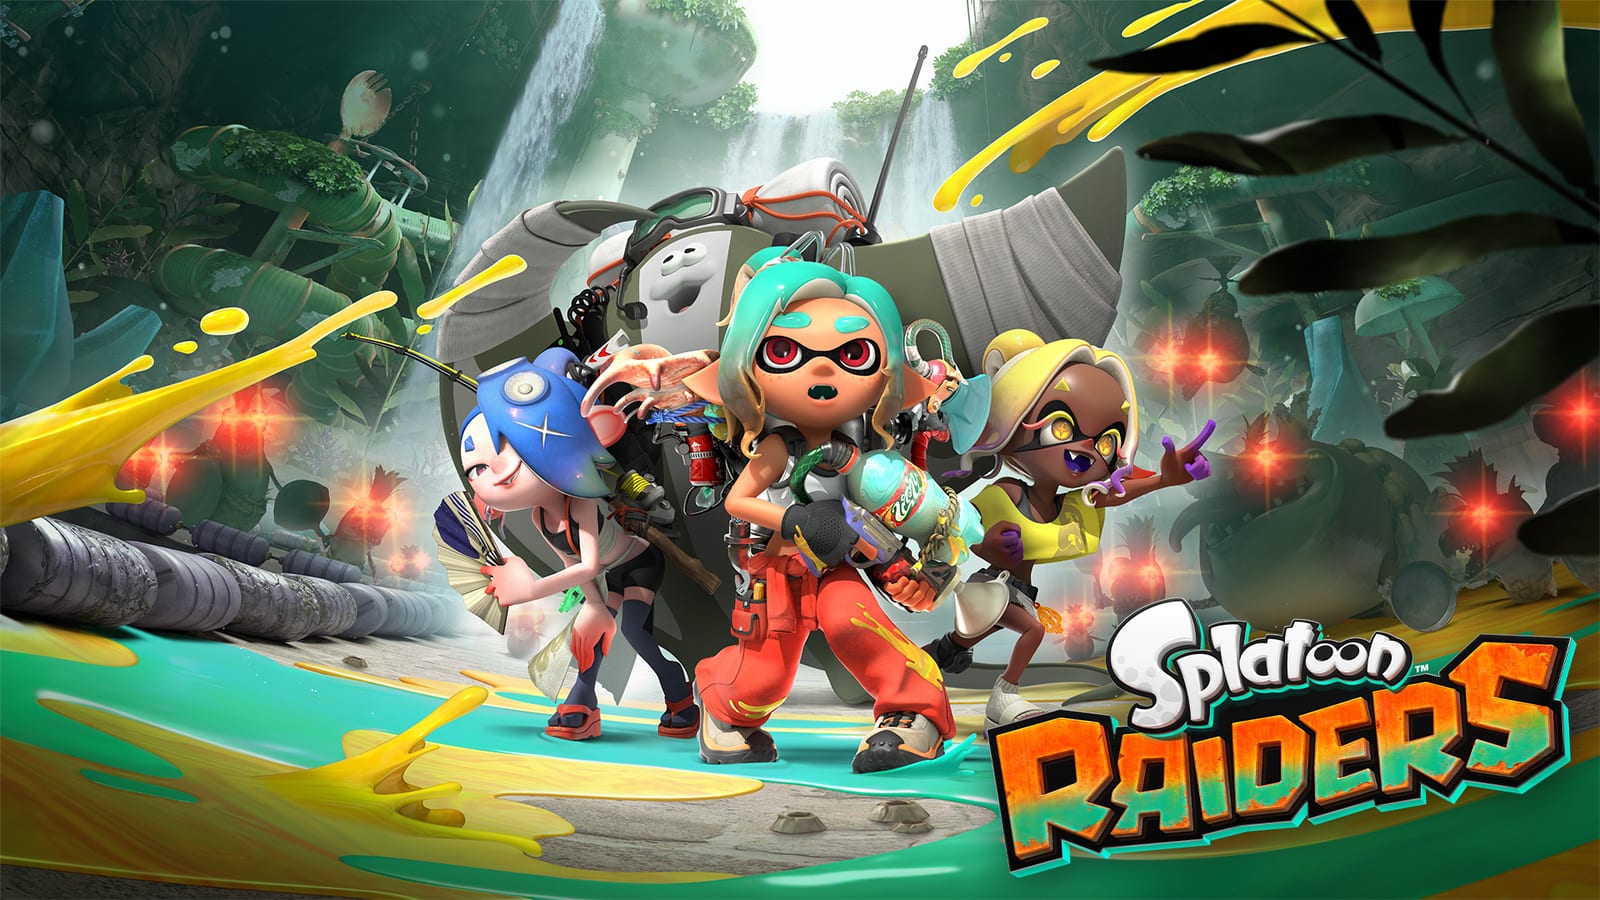
Gadgets are the active verbs of a Splatoon Raiders build. Weapons spray ink; gadgets rewrite space. Each gadget belongs to Power, Speed, or Tactical, and you may only equip gadgets from the tank you are wearing. You begin with two slots and can unlock a third as that tank ranks up through use and Power Eggs. This page is the cross-tank field manual.
Deep loadouts: Power Tank, Speed Tank, Tactical Tank. Ranked list: Gadgets Tier List. Hub: Builds.
Slot rules you should memorize
- Gadgets match the active tank’s pool of five.
- Two slots are available immediately on a fresh tank plan.
- Ranking the tank unlocks the third slot—this is a major power spike.
- Some later progression paths expand mixing, but you should master in-pool pairs first.
- Developing missing gadgets happens at Shiver’s Hideout station with materials and Spirhalite ore; not every tool is free on day one.
Weapons remain a separate progression track at Frye’s Weapon Stash (regular max level 5, Primo further). Gadgets do not replace shard investment—see How to Get Weapons.
Power pool (orange fantasy)
- Splatchet — rushing wide slash; breaks tough defenses; beginner essential
- Splatellites — orbiting discs that ink and damage; beginner essential
- Spinwheel — knockback plow; hold to chase bosses
- Meteor Mitt — slam gauntlet scaled by drop height
- Shellacker — charged exploding ink shot
Default pair: Splatchet + Splatellites. That is the wiki’s recommended starter for the July 23, 2026 Switch 2 release crowd.
Speed pool (blue fantasy)
- Blast Boot — explosive leap engage/escape
- Dash Bomb — dash that leaves an instant bomb
- Jump Bomb — stick-aimed explosive jump
- Flywire — zip to inkable surfaces or Salmonids
- Booyarang — arcing throw for mobile poke
Default pair: Blast Boot + Booyarang, then race toward Flywire.
Tactical pool (purple fantasy)
- Shot Pot — auto turret for foes and crates
- Hi-Fiver — five bouncing ink lines
- Bombloons — linkable floating bombs
- Tether Wail — extending laser that strengthens while held
- Torqscrew — placed vortex that flings Salmonids
Default pair: Shot Pot + Hi-Fiver, then Bombloons as the identity unlock.
Pairing logic (how to choose slot two and three)
Ask what kills you:
| Death pattern | Gadget answer | Tank |
|---|---|---|
| Surrounded in melee | Splatchet + Splatellites | Power |
| Sniped while charging | Flywire + Blast Boot | Speed |
| Dropping objectives | Torqscrew + Shot Pot | Tactical |
| Spawn door floods | Bombloons + Shot Pot | Tactical |
| Boss armor stalls | Splatchet + Shellacker / Spinwheel | Power |
| Slow crate clears | Shot Pot anywhere legal | Tactical |
Third slot should cover a weakness, not clone a strength. If you already have two escapes, add damage. If you already have two damage buttons, add a zone or orbit.
Parts and upgrades
As gadget parts open, bias them toward the job the slot already has:
- Splatellites → more discs / area / duration / scorch-style pressure
- Splatchet → slash damage, damage taken down, cooldown wins
- Shellacker → charge speed, explosion damage, direct-hit damage
- Flywire / Boots → cooldown and mobility reliability before greedy damage mods
- Bombloons → blast radius and link behavior
- Shot Pot → uptime and target priority comfort
Exact part names vary with Hideout unlocks; the principle stays “amplify the role.”
Gadgets vs weapons vs difficulty
Gadgets change how fast and safely you clear. They do not change loot rarity math. Tourist vs Survivalist only alters enemy strength. Farm dens with more packs and crates when you need weapons; farm with the kit that keeps you alive long enough to open those crates.
Synergy cheat links:
- Class roles → Weapon Types
- Keeper shortlist → Best Weapons
- Weapon ranks → Weapons Tier List
- Tank ranks → Tanks Tier List
Co-op gadget etiquette
Call your tank in four-player sessions so the squad does not stack four identical escape kits. One Tactical Shot Pot pocket plus one Power breaker plus one Speed scout covers most dens. Ping Bombloon doors. Do not Torqscrew teammates off ledges for science.
Practice without rebuilding your stash every hour
Pick one tank for a full evening. Develop its missing gadgets at Shiver before you judge the pool “weak.” Unlock the third slot before you declare another tank permanently better. Use the Raid Checklist to track which gadgets you still need materials for. Story and system explainers: Guides.
Quick recommendations
- New player: Power Splatchet + Splatellites
- Charge mains: Speed Flywire + Blast Boot (+ Jump Bomb)
- Objective holders: Tactical Shot Pot + Bombloons (+ Torqscrew)
- Boss specialists: Power Splatchet + Splatellites + Shellacker or Spinwheel
Return to Builds Hub when you are ready to open a full tank page instead of this catalogue.
Frequently Asked Questions
Quick answers to the most common questions.
How many gadgets can I equip?
You start with two gadget slots on your active tank and can unlock a third slot as that tank ranks up.
Can every tank use Flywire or Shot Pot?
No. Flywire is Speed-only and Shot Pot is Tactical-only unless later progression grants a special flex exception. Pools are tank-locked by default.
Where do I unlock more gadgets?
Some gadgets unlock automatically. Others are developed at Shiver's station on the Hideout Ship using materials and Spirhalite ore.
What is the best beginner gadget pair?
Splatchet and Splatellites on the Power tank. They teach armor breaks and passive defense without complex placement.
Do gadgets affect loot drops?
Only indirectly by helping you clear more dens and crates. They do not change difficulty loot tables.