Splatoon Raiders Speed Tank Builds
Explosive leaps, zip lines, and reposition tools for charge weapons and fast clears.
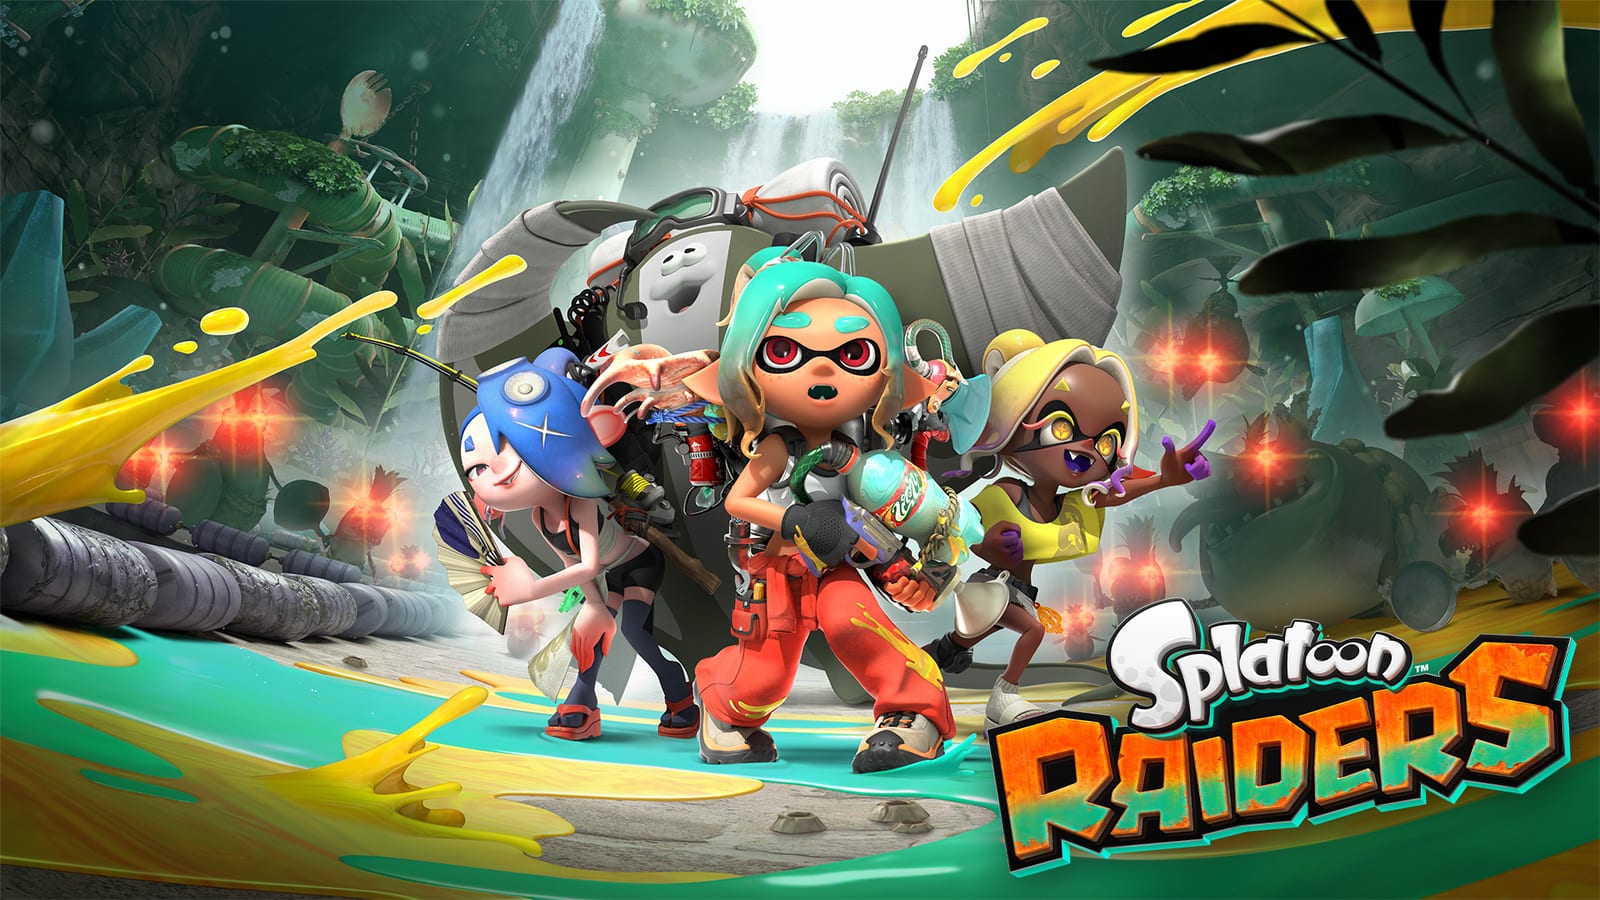
Speed tank turns Splatoon Raiders into a movement puzzle. Instead of winning dens by standing inside Splatellites, you win by never being where the Salmonid spit lands. Blast Boot, Dash Bomb, Jump Bomb, Flywire, and Booyarang form a kit that rewards players who already think in dodges—and it elevates Splatlings, Chargers, Rollers, and Stringers that need borrowed time.
If you are brand new, read Power Tank Builds first. Control addicts should compare Tactical Tank Builds. Shared rules live on Gadgets. Hub: Builds.
Speed gadget roster
| Gadget | What it does | Typical use |
|---|---|---|
| Blast Boot | Leap that explodes on landing | Engage, escape, stomp packs |
| Booyarang | Arcing boomerang damage | Safe poke while moving |
| Dash Bomb | Directional dash that leaves an instant bomb | Break contact, punish chasers |
| Jump Bomb | Aimed explosive jump | Vertical dens, burst reposition |
| Flywire | Fire a line and zip to inkable surfaces or Salmonids | Map traversal, clutch saves |
Early unlocks usually include Blast Boot and Booyarang. Develop Dash Bomb, Jump Bomb, and Flywire at Shiver’s Hideout station with materials and Spirhalite ore. Two slots to start; third slot after tank rank progress.
Core Speed play patterns
Paint before you zip
Flywire needs inkable ground, walls, or a Salmonid body. Panic-firing Flywire into uninked void wastes the gadget and your life. Spend half a second painting an anchor, then zip. This single habit separates Speed mains from Speed tourists.
Explosions are not optional flavor
Blast Boot, Dash Bomb, and Jump Bomb all deal real damage. Treat them as part of your DPS rotation, not only escape tools. A Splatling that charges after a Boot stomp clears floors faster than a Splatling that only shoots.
Booyarang covers cowardly seconds
When both mobility charges are cooking, Booyarang keeps pressure without walking into claws. It is the “I am still contributing” button during cooldown discipline drills.
Starter Speed build
- Gadgets: Blast Boot + Booyarang
- Weapon: forgiving Shooter or Roller while you learn Boot timing
- Goal dens: maps with clear sight lines so missed Boots do not drop you into pits
Drill: enter a pack with Boot, fire during the landing advantage, Booyarang as you leave, re-ink, repeat. Only after that feels boring should you chase Flywire unlocks.
Mid-game Speed builds
Flywire charger
Slots: Flywire, Blast Boot, (third) Booyarang or Jump Bomb. Weapons: Charger / Unleaded 4K scrap lines, Stringers. Zip to a perch, charge, delete elites, Boot out when flanks spawn. Keep a backup close-range weapon in inventory for arena shrink moments—see Weapon Types.
Jump Bomb splatling
Slots: Jump Bomb, Flywire, Blast Boot. Weapons: Gas-Can Splatling and kin. Use jumps to create charge windows and Bot Hop-style air time. This is a high-skill farm machine for players who already cleared story content on Power.
Dash Bomb roller courier
Slots: Dash Bomb, Blast Boot, Booyarang. Weapons: Rollers / Brushes. Dash through a painted lane, leave a bomb in the chase path, Boot onto the next pack. Outstanding for crate-route farming when you combine movement with the checklist on Raid Checklist.
Endgame Speed notes
Fully ranked Speed with three slots becomes a clear-speed monster. Community farm tech sometimes chains Jump Bomb parts with midair movement on dense stages for materials—strong for Spirhalite, slightly worse for leisurely weapon sightseeing than full pack clears. Remember: loot tables ignore difficulty, so Survivalist Speed runs are for pride and challenge, not secret Primo rates.
Weapon investment still happens at Frye’s Weapon Stash. Regular mains cap at level 5; Primo five-stars climb further. Speed does not replace shard discipline—read How to Get Weapons and Best Weapons.
Popular endgame mashups players chase after third-slot mastery:
- Flywire + Blast Boot + Shot Pot (if flex rules allow a foreign gadget later) for “move + autopilot”
- Flywire + Jump Bomb + Booyarang for pure mobility artillery
- Dash Bomb + Jump Bomb + Blast Boot for explosive chain dens
Ranked gadget opinions: Gadgets Tier List. Tank ranking: Tanks Tier List.
Weapons that love Speed
| Class | Why Speed helps |
|---|---|
| Splatling | Buys spin-up safety |
| Charger / Stringer | Creates perch-to-perch lines |
| Roller / Brush | Converts dashes into painted engages |
| Dualies | Stacks dodge identity with Boot/Dash |
| Splatana | Escape tools after greedy charged slashes |
Blasters still work, but Power often gets more free value from them. If your heart is Blaster + discs, stay on Power Tank Builds.
Mistakes that make Speed feel weak
- Equipping Speed without unlocking Flywire, then blaming the tank
- Zipping into unscouted rooms full of projectile elites
- Never dealing damage with Boot/Bomb landings
- Ignoring weapon upgrades because “movement is enough”
- Swapping tanks every raid and never ranking Speed to the third slot
Training circuit
- One hour Boot-only engages on easy dens
- One hour Flywire anchor painting drills
- One hour Jump Bomb vertical stages
- One Primo farm block using your final three-slot kit
For story pacing outside movement tech, skim Guides. Weapon tier context: Weapons Tier List. When traps sound better than leaps, switch to Tactical Tank Builds.
Frequently Asked Questions
Quick answers to the most common questions.
What gadgets are on the Speed tank?
Blast Boot, Dash Bomb, Jump Bomb, Flywire, and Booyarang. Early kits usually start with Blast Boot and Booyarang.
When should I switch from Power to Speed?
After you clear basic dens comfortably and want charge weapons or faster crate routes. Speed asks for more movement discipline than Power.
Does Flywire attach to enemies?
Yes. Flywire can stick to inkable ground, inkable walls, and Salmonids, which enables both traversal and clutch engages.
Which weapons are best with Speed tank?
Splatlings, Chargers, Stringers, and Rollers gain the most from borrowed charge and reposition time.