Best Splatoon Raiders Settings
Practical Options values for aim, comfort, and consistent dungeon clears.
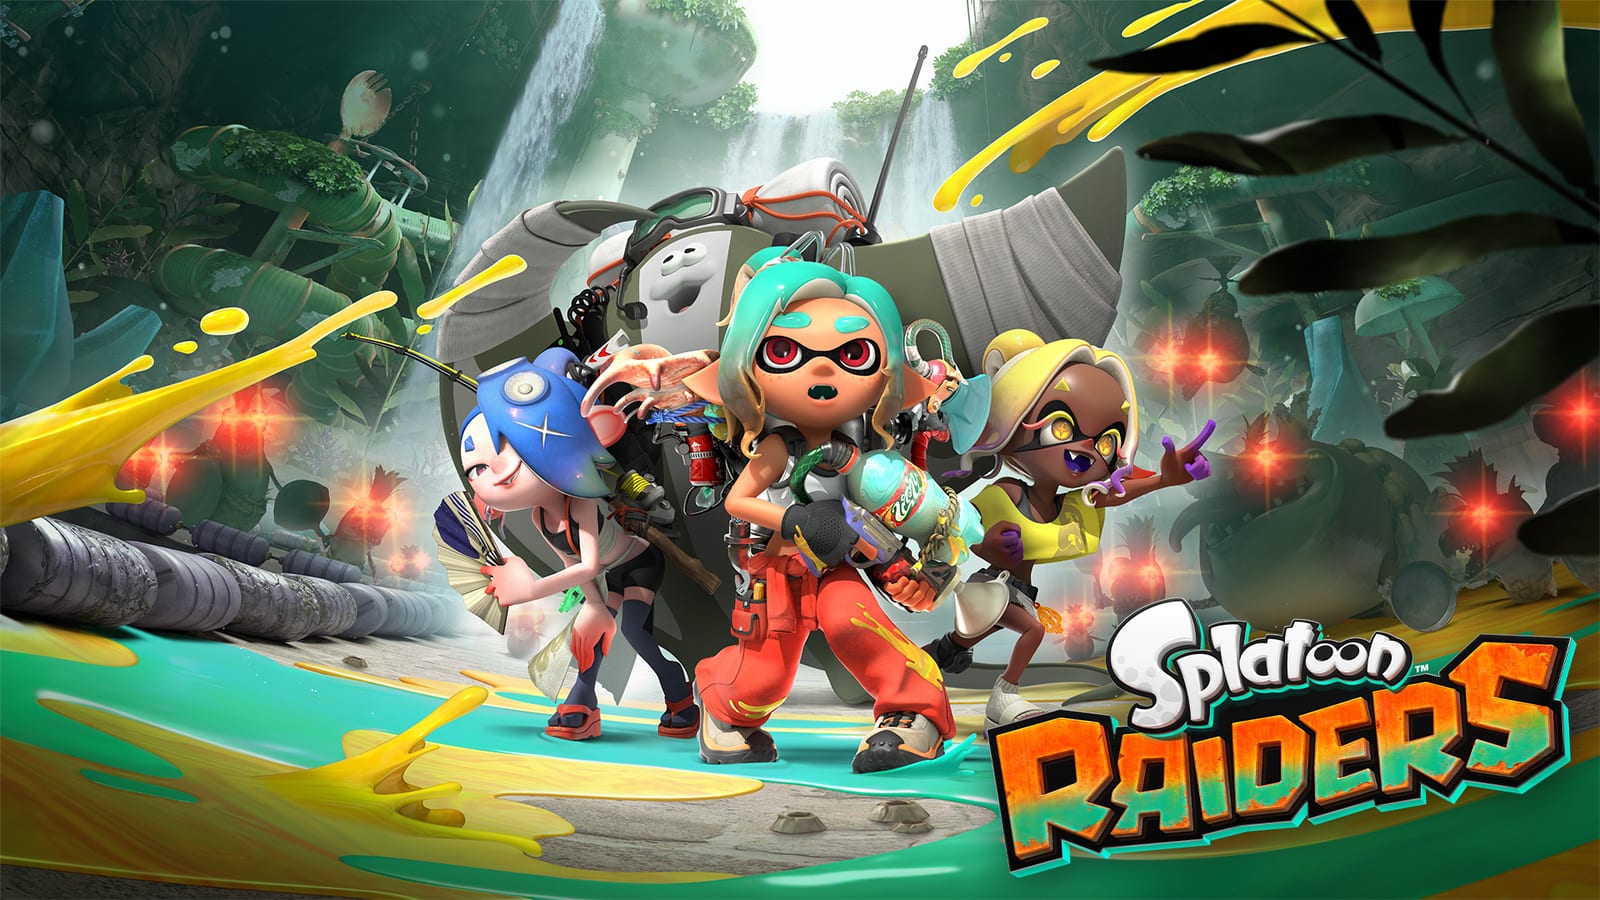
Good settings will not clear Scayl Buried Ruins for you, but bad settings will make every Salmonid pack feel unfair. Splatoon Raiders separates handheld and TV/tabletop control tabs, ships with a sensible default gyro around −1, and lets you retune anytime from the Hideout Ship. This page gives starting ranges, not sacred numbers—then shows how to validate them in real raids.
Cross-check aim habits on the motion controls page and the broader Controls Hub before you lock a preset for Spicy farming.
Start from the default, then bias by weapon range
If you are new to the series, leave gyro near the default −1 for a few story beats on Lehlo and Erpp. Once you know whether you overflick or underturn, move in small steps. Chasing a viral “max sens” config usually wastes Spirhalite sessions.
Use weapon distance as your first bias:
- Close-range kits (many shooters, blasters, dualies): try gyro about 1.0 to 5.0 so you can whip onto Lesser packs that spawn behind you.
- Mid-range kits: stay near −1.0 to 3.0 for a blend of tracking and stability.
- Long-range kits (chargers, some stringers/splatlings): prefer −3.0 to 1.0 so micro-adjustments do not slide off Boss weak points.
These bands assume motion is enabled. Pure stick players should tune stick camera speed with the same philosophy—faster for close chaos, slower for precision lanes—then confirm on the ship test range.
How to open and save control settings
- Open Options (commonly from the raid/pause flow with X, then move to the Options tab).
- Select the device profile you are using right now: handheld or TV/tabletop.
- Adjust motion toggle, gyro sensitivity, and stick camera values.
- Exit Options and fire a magazine at moving targets before launching a dungeon.
Changes apply immediately. You do not need a story checkpoint. Still, avoid rewriting settings mid-Boss fight; finish the raid, return to the Hideout Ship, and retune with a cool head.
Difficulty settings are comfort tools, not loot gates
Tourist, Raider, and Survivalist change enemy strength only. Loot tables stay aligned, so you can drop to Tourist while testing a new sensitivity or gadget pair without “wasting” a farm. Climb back to Raider or Survivalist when your aim and L/R timing feel boringly consistent.
That rule matters for materials grinding and relic routes: pick the difficulty that preserves clean play, not the one that looks bravest in a squad chat.
Suggested baseline for most solo raiders
- Motion controls: on, unless you already know sticks-only is more accurate for you.
- Gyro: default −1, then nudge toward the weapon-range band above.
- Y reset habit: after every Bot Buddy launch and every menu return.
- Gadget mindset: fire control tools at pull, not after the swarm has already surrounded you.
- Audio: keep effect volume high enough to hear Boss tells; music can sit lower during dense mining rooms.
If you play docked for long sessions, reassess after fifteen minutes. TV distance changes perceived sensitivity even when the number stays the same.
Co-op and Call for Help considerations
In four-player raids, visual noise rises. Slightly lower sensitivity can prevent friendly chaos when everyone sprays the same chokepoint. If you answer Call for Help requests, expect unfamiliar dungeon layouts from the map—a stable mid-range sens beats a hyper-flick profile you only use in your favorite farm.
Host etiquette: say whether you prefer motion or stick so guests are not shocked by your camera pacing during shared Treasure Hunt clears.
Validate settings with a short checklist
Before a progression dungeon, run this loop:
- Paint a path, swim to refill ink and confirm heal timing against the visible health bar.
- Trigger both gadgets on cooldown without looking down at the controller.
- Hop and launch with the Bot Buddy, then Y-reset and hit a moving target.
- If any step feels clumsy, fix settings or practice on the ship instead of burning a story attempt.
Slot that loop into the interactive raid checklist when you prep loadouts with builds and weapons.
Common mistakes to avoid
Copying a friend’s max sensitivity while using a long-range weapon is the fastest path to missed crystals. Another trap is enabling motion on handheld, docking later, and forgetting the TV tab still holds old values. Finally, do not confuse aim settings with tank choice—if Power Tank gadgets are wrong for the room, no gyro number will save the wipe.
When settings feel invisible, you are done. Move attention to dungeon objectives in the Walkthrough Hub and keep this page as a retune reference after major weapon swaps.
Frequently Asked Questions
Quick answers to the most common questions.
What is a good default gyro sensitivity?
Start near the game’s default around −1 for both handheld and TV/tabletop. Adjust in small steps after a few raids rather than jumping to extreme values.
Should I change settings for every weapon?
Not every drop, but yes when you swap range brackets. Close kits tolerate higher sensitivity; long kits usually want lower, steadier values.
Do Survivalist runs need different Options?
Often a slightly lower sensitivity helps because mistakes hurt more. Loot is unchanged across difficulties, so prioritize consistency over bravado.
Where do I practice a new settings profile?
Use the Hideout Ship test range, then one low-stakes Erpp farm. Confirm gadgets, swim heals, and Bot Buddy launches before story or Spicy dungeons.
Can settings fix a weak build?
No. Settings support execution. If clears still fail, review tank gadgets in Builds, weapon choice in Weapons, and dungeon objectives in the Walkthrough hub.